Building a High-Performance NAS-From Hardware RAID to Automated Photo Cloud
Building a High-Performance 3TB NAS: From Hardware RAID to Automated Photo Cloud
If you have an Intel NUC and a handful of NVMe drives, you aren’t just sitting on a powerful computer—you’re sitting on the foundation of a high-speed, redundant, and private cloud.
In this tutorial, we will walk through the exact steps to build a standalone NAS using Ubuntu, a 4-drive NVMe RAID 5 array, and a suite of self-hosted tools.
The Vision
Most home NAS setups rely on slow mechanical hard drives. By using 4x NVMe drives in a RAID 5, we achieve:
- Redundancy: One drive can fail completely without any data loss.
- Performance: Massive read/write speeds for 4K video editing and photo syncing.
- Capacity: Turning four 1TB drives into ~3TB of usable space.
Step 0: Hardware Selection - Why the Intel NUC?
When starting a DIY NAS, the temptation to use a Raspberry Pi is high. However, for a serious high-performance build, the Intel NUC wins on almost every metric.
| Feature | Raspberry Pi 5 | Intel NUC (N100/N150) |
|---|---|---|
| Transcoding | Software-only (Slow) | Intel QuickSync (4K Hardware) |
| Storage I/O | PCIe 2.0 (Requires HATs) | Native NVMe Gen3/4 Slots |
| Architecture | ARM (Compatibility issues) | x86_64 (Standard Server Apps) |
| Total Cost | ~$150+ (After HATs, PSU, Case) | **~$160 - $220 (All-in-one)** |
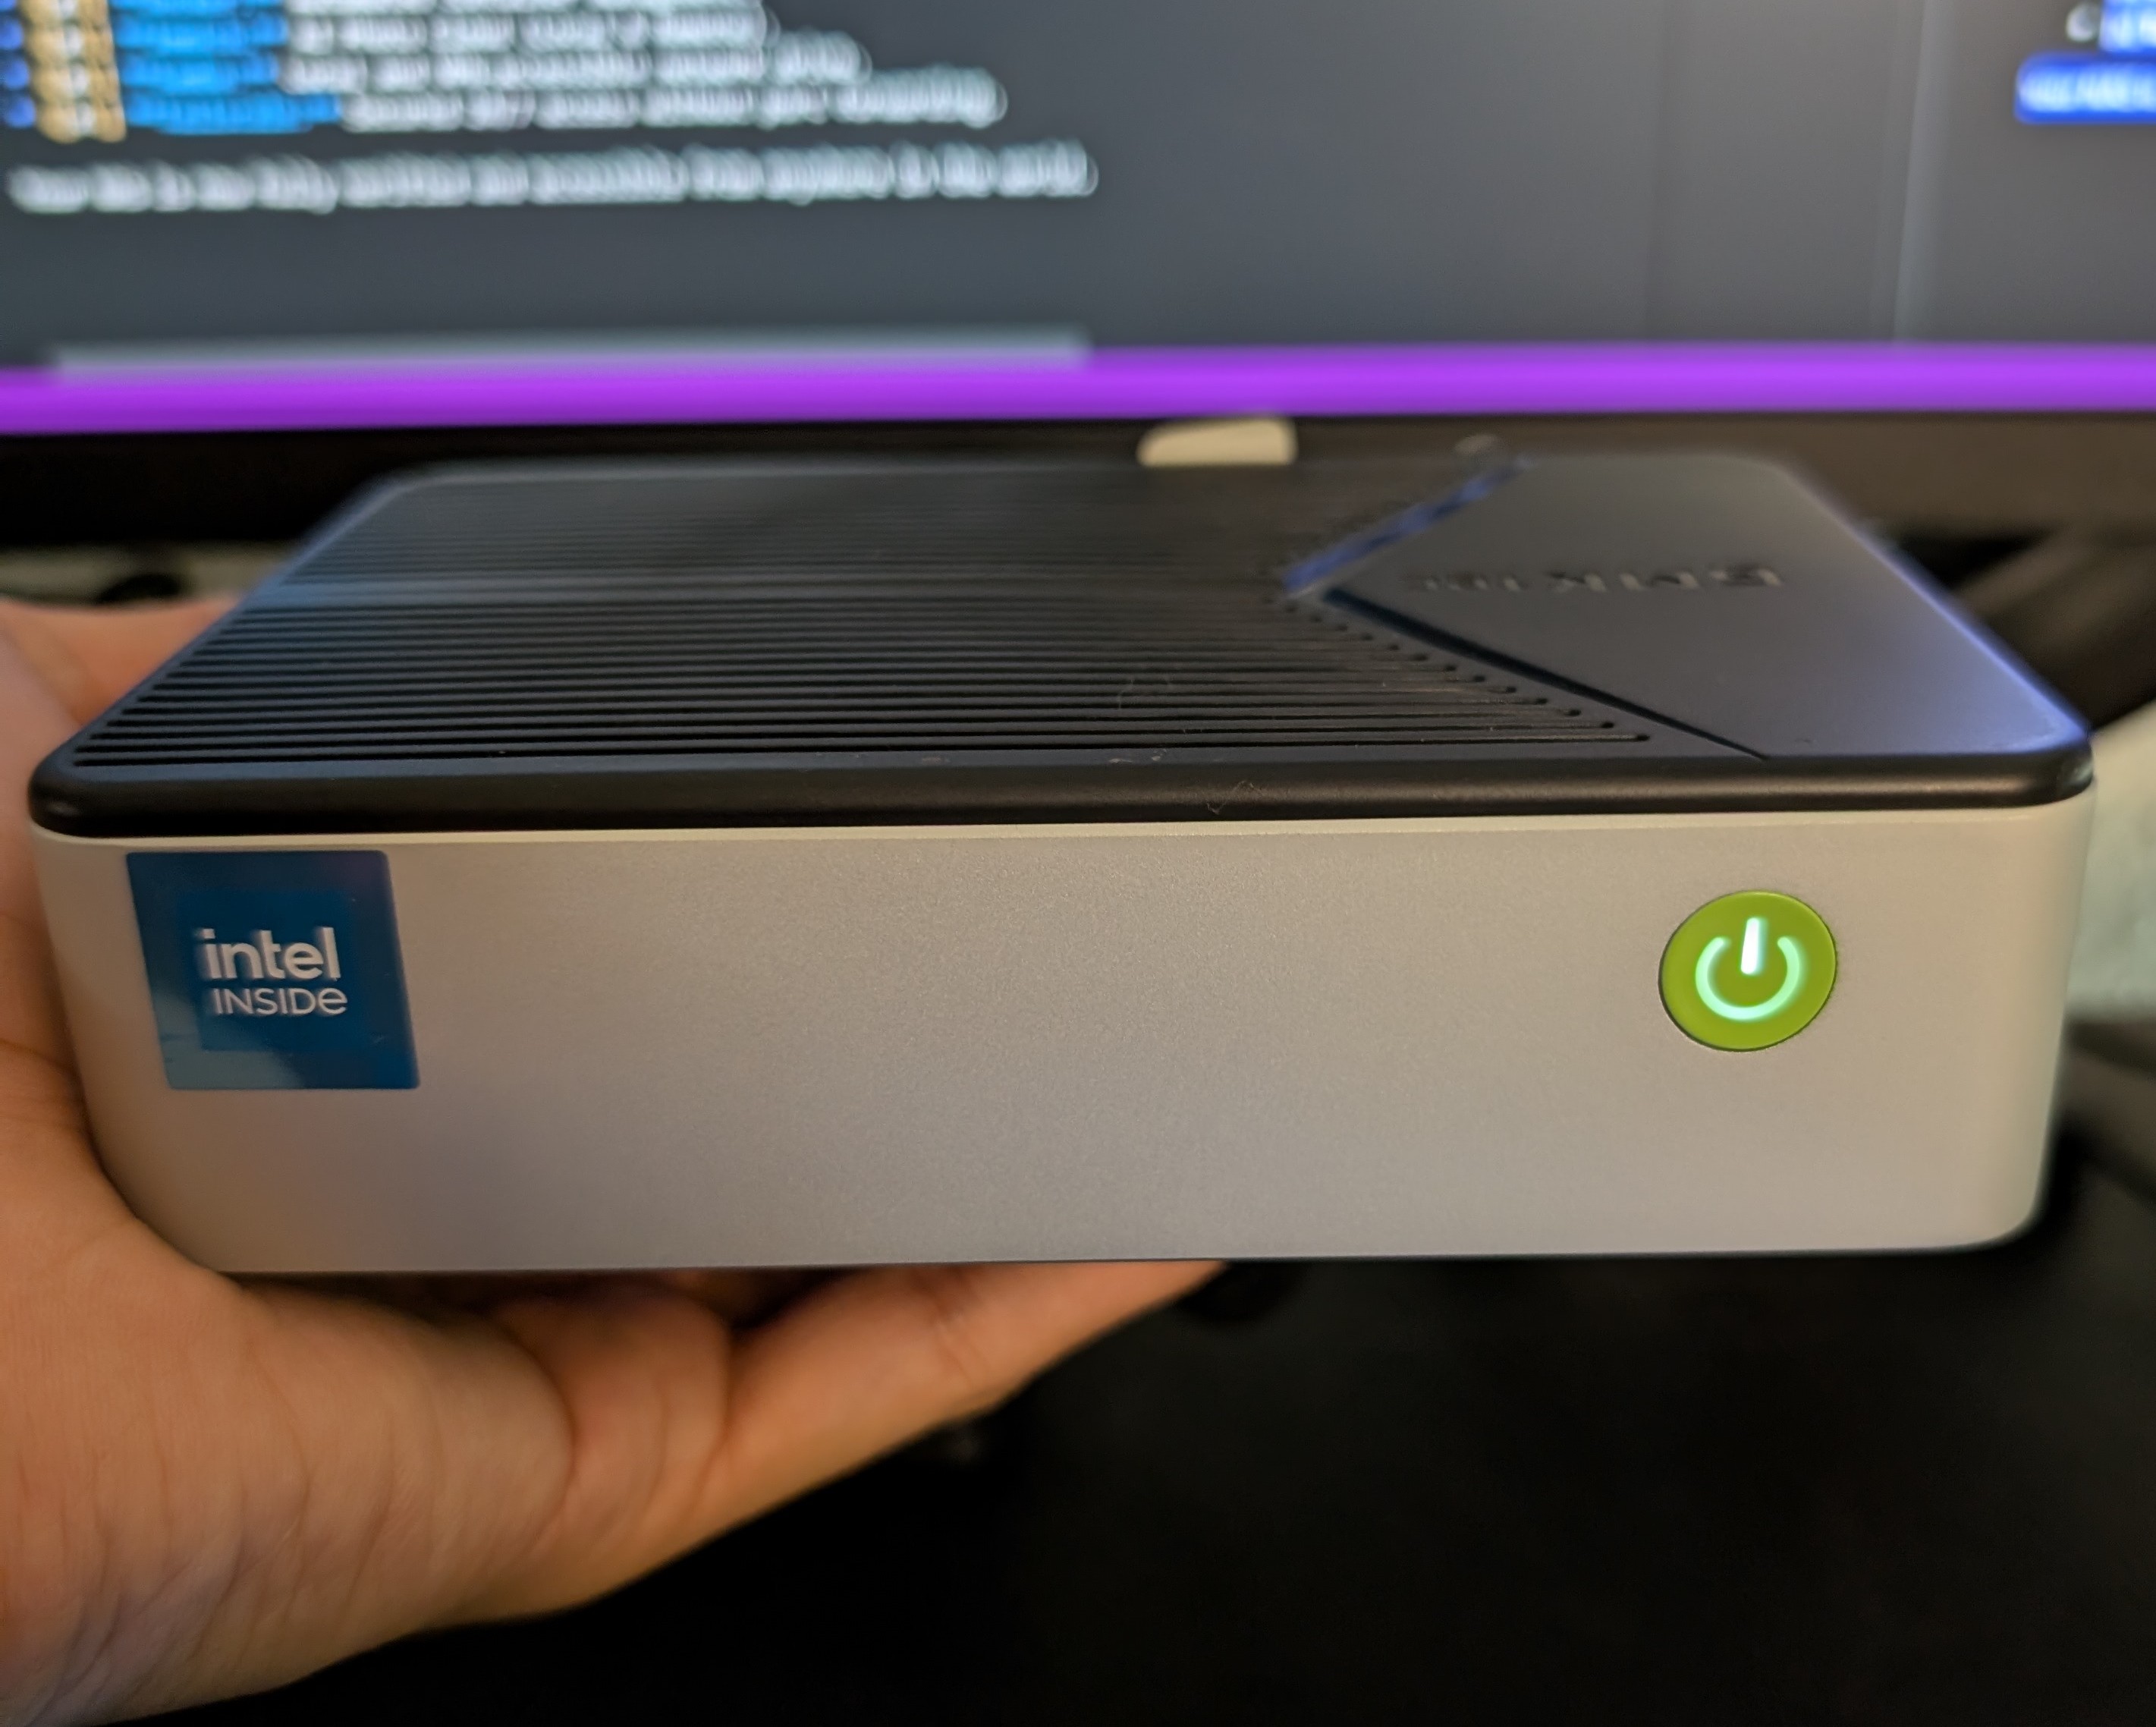
We chose the GMKtec Mini PC NAS, G9 Intel N150, for this build. It is a compact and powerful option that provides the perfect balance of performance and value. But you can use any Intel NUC.
Step 1: Choosing the Right OS
We recommend Ubuntu Server for its massive community support and hardware compatibility.
Step 2: Building the Storage Foundation (RAID 5)
2.1 Install the tools
sudo apt update && sudo apt install mdadm -y
2.2 Create the Array
sudo mdadm --create --verbose /dev/md0 --level=5 --raid-devices=4 \
/dev/nvme0n1 /dev/nvme1n1 /dev/nvme2n1 /dev/nvme3n1
Step 3: Making Storage Permanent
3.1 Save Config & Mount
sudo mdadm --detail --scan | sudo tee -a /etc/mdadm/mdadm.conf
sudo update-initramfs -u
sudo mkfs.ext4 /dev/md0
sudo mkdir -p /mnt/storage
3.2 Automate via fstab
Add the UUID from sudo blkid /dev/md0 to /etc/fstab:
UUID=YOUR-ID-HERE /mnt/storage ext4 defaults 0 2
Step 4: Docker & Immich Installation
4.1 Docker Engine Setup
# Install Docker and Compose
sudo apt update && sudo apt install ca-certificates curl gnupg lsb-release -y
sudo mkdir -p /etc/apt/keyrings
curl -fsSL https://download.docker.com/linux/ubuntu/gpg | sudo gpg --dearmor -o /etc/apt/keyrings/docker.gpg
echo "deb [arch=$(dpkg --print-architecture) signed-by=/etc/apt/keyrings/docker.gpg] https://download.docker.com/linux/ubuntu $(lsb_release -cs) stable" | sudo tee /etc/apt/sources.list.d/docker.list > /dev/null
sudo apt update && sudo apt install docker-ce docker-ce-cli containerd.io docker-compose-plugin -y
sudo usermod -aG docker $USER
4.2 Immich Troubleshooting
- Permissions: sudo chown -R $USER:$USER /mnt/storage/immich if upload fails.
- Transcoding: Verify GPU via ls -l /dev/dri. Ensure intel-media-va-driver-non-free is installed.
Step 5: Samba (Network Drive Sharing)
Samba makes your RAID look like a local drive on Windows/Mac.
1. Install & Config:
sudo apt install samba -y
# Add to bottom of /etc/samba/smb.conf:
[NUC-Storage]
   path = /mnt/storage
   read only = no
   writable = yes
   guest ok = no
   force user = YOUR_USER
2. Password Setup:
sudo smbpasswd -a YOUR_USER
sudo systemctl restart smbd
Step 6: Tailscale - The Secure Mesh VPN
6.1 How Tailscale Works
Unlike traditional VPNs that route all traffic through one server (causing lag), Tailscale creates a Mesh Network.
- Direct Connection: If your phone and NUC are both on Tailscale, they talk directly to each other using WireGuard encryption, even if you are on 5G and the NUC is at home.
- NAT Traversal: It “pokes holes” in your router’s firewall automatically, so you don’t have to deal with insecure port forwarding.
- MagicDNS: Tailscale gives your NUC a name (like my-nuc). You can use this name instead of remembering IP addresses.
6.2 Installation
curl -fsSL https://tailscale.com/install.sh | sh
sudo tailscale up --ssh
Step 7: Testing & Verification Protocol
Follow this checklist to ensure your NAS is working perfectly.
🟢 Test 1: Inside the Local Network (Home Wi-Fi)
- Immich: Open a browser on your laptop and go to
http://192.168.0.200:2283. - Samba:
- Windows: Press
Win+R, type\\192.168.0.200\NUC-Storage. - Mac:
Finder -> Go -> Connect to Server -> smb://192.168.0.200.
- Windows: Press
- FileBrowser: Go to
http://192.168.0.200:8080.
🔵 Test 2: Outside the Network (Remote/5G)
Prerequisite: Install the Tailscale app on your phone/laptop and sign in.
- Get your Tailscale IP: Run
tailscale ip -4on the NUC or check the Tailscale Admin Console. (Example:100.64.0.5) - Test Immich App:
- Open the Immich app on your phone.
- Go to Settings > Networking.
- Set Home Endpoint to your local IP (
192.168.x.x). - Set External Endpoint to your Tailscale IP (
http://100.64.0.5:2283). - Turn off Wi-Fi and verify you can still see your photos.
- Test Samba Remotely:
- On a remote laptop with Tailscale active, connect to
\\100.64.0.5\NUC-Storage. It should feel exactly like being at home.
- On a remote laptop with Tailscale active, connect to
- Test FileBrowser:
- Browse to
http://100.64.0.5:8080from your phone’s browser.
- Browse to
Summary Checklist
- [x] RAID 5: 3TB redundant storage.
- [x] Docker: Automated container management.
- [x] Immich: AI Photo Cloud (Local & Remote).
- [x] Samba: Local and VPN-accessible network drive.
- [x] Tailscale: Secured 24/7 access without port forwarding.
Your NAS is now fully verified and accessible from anywhere in the world.